Official Luthiers Forum! http://www-.luthiersforum.com/forum/ |
|
Bridge slotting jig http://www-.luthiersforum.com/forum/viewtopic.php?f=10102&t=7599 |
Page 1 of 1 |
Author: | Kelby [ Wed Jul 19, 2006 5:06 pm ] |
Post subject: | |
I missed the bridge jig thread a while back, so here's mine. 
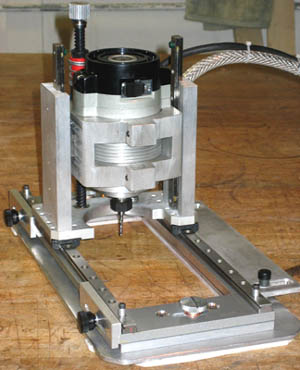
I built the jig last month. The jig is designed to make a properly angled slot in a standard bridge blank using a 1/8" bit in my router table. 
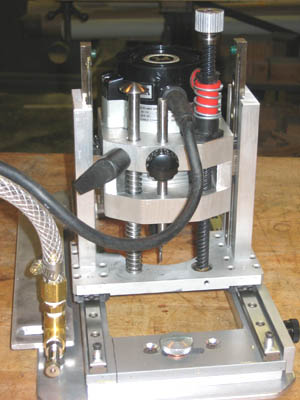
The jig holds the blank with a vacuum clamp at the appropriate angle. 
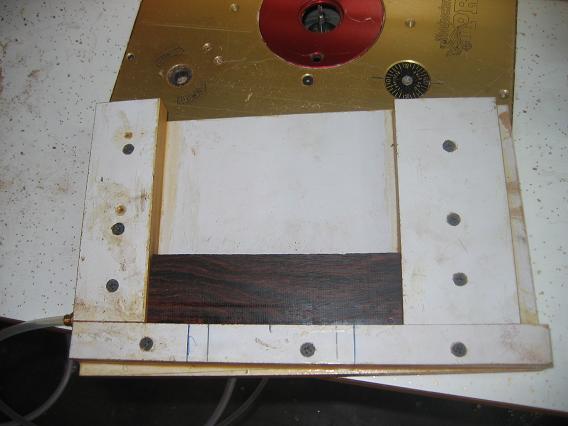
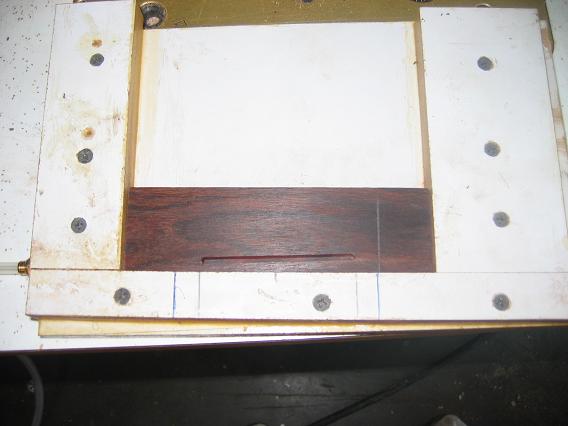
Then, the bit is raised to the appropriate height, and stops are located along the fence to provide the correct slot length. I lower the bridge fixture (with the bridge in it) onto the bit and slot the bridge. A perfect slot! I also have the Stew Mac jig, which is pretty good, but this is far superior. The dremel in the Stew Mac jig always has a couple inherent problems. First, I break Dremel bits when I try a full depth cut all at once. But when I do multiple cuts with the Dremel, the second cut never quite lines up perfectly with the first one, which creates just a little slop in the slot. With this jig, a full-depth cut is no problem. Perfect depth, no broken bits, perfectly straight. Woohoo! |
Author: | Cecil [ Wed Jul 19, 2006 9:12 pm ] |
Post subject: | |
Kelby, I like your approach. This is everything a jig sould be,simple,accurate, and infinitly repeatable. Cecil |
Author: | Serge Poirier [ Wed Jul 19, 2006 9:44 pm ] |
Post subject: | |
Nice jig Kelby! |
Author: | LanceK [ Wed Jul 19, 2006 10:14 pm ] |
Post subject: | |
Kelby, nice jig! And it looks like its very simple to use as well. On the Stewmac jig, to address the problems that come with using a dremel, such as a small bit size and to much run out, try making a custom base for a lam-trimmer to use with your stewmac jig. I think Matt Gage did this and it worked out great. You get to use the well thought out jig that stewmac offers with the power and accuracy of a lam-trimmer. |
Author: | Terry Stowell [ Thu Jul 20, 2006 1:54 am ] |
Post subject: | |
Matt? Got pix or a link? |
Author: | Kelby [ Thu Jul 20, 2006 1:43 pm ] |
Post subject: | |
Thanks, everyone! Lance, I will someday set up a laminate trimmer for the Stew Mac jig, which is a great jig if you have to slot a bridge on the guitar. But if you have the option of slotting the bridge, it's much faster on the router table. With the Stew Mac jig, you have to set the jig up and locate it for each guitar. With the router table, you can set the bit/stops once, and then you can slot as many bridges you want at about 30-45 seconds each (if you take your time). Mass production made easy! |
Author: | Dave Rector [ Fri Jul 21, 2006 12:26 am ] |
Post subject: | |
Kelby, do you have a shot of the jig without a bridge blank in it? I'd like to see how you did the vacuum part. |
Author: | Kelby [ Fri Jul 21, 2006 3:55 am ] |
Post subject: | |
Dave, I'll take some shots of the vacuum part of the jig tonight and post them for you. The vacuum assembly was by far the trickiest part, mostly because I had never made any sort of vacuum clamp before. I initially used ordinary weather stripping, but it was too flexible and it allowed the blank to move just a little when lowered onto the bit. It gave me a small "hook" at the beginning of the slot. It probably could have passed, but I wanted a perfect slot. I ended up ordering some material from joewoodworker.com that solved the problem. |
Author: | Dave Rector [ Fri Jul 21, 2006 4:05 am ] |
Post subject: | |
Thanks Kelby! I thought that would be the more difficult part of building the jig. Looking forward to the pics. |
Author: | David Collins [ Fri Jul 21, 2006 10:51 am ] |
Post subject: | |
My time is primarily spent in repair rather than building, so of course my jigs have to be for mounted bridges. After using probably every commercially available jig out there and making a few of my own, this week I finally finished what will hopefully be the last one I'll ever need. I've found enough shortfalls in most of the other designs that I'm pretty sure I've got them all covered with this one. This one is 6061 aluminum with a vacuum mounted base, Porter Cable 310 motor, linear rail bearings, plunge screw, depth stop and lock, ample room for adjustment in every direction and good visibility of the cut. It took way too long to make, but I'm pretty sure that I will be using this one for at least a few decades. ![]() ![]() |
Author: | CarltonM [ Fri Jul 21, 2006 11:11 am ] |
Post subject: | |
Impressive, David! Did you do all the machining (O.K., probably not the linear bearings, but still...)? Gotta smile at a homemade, lifetime tool. ![]() |
Author: | Kelby [ Fri Jul 21, 2006 2:07 pm ] |
Post subject: | |
David, that's a mighty fancy jig! Dave, here's the pic I promised: The hose on the left connects to a fitting that fits into a hole I drilled into the side of the jig. The drilled hole extends about 1/4 along the jig, and then I drilled a hole from the top to connect to that hole. You can see the hole in the top in the lower left quarter of the bridge blank location. The jig is made from Melamine. The downside of the melamine is that you don't get a great vacuum unless you seal all the mdf edges, which I did with yellow glue. Now it works great! |
Author: | Dave Rector [ Fri Jul 21, 2006 10:50 pm ] |
Post subject: | |
Thanks Kelby! I assumed that was what it would look like, just wanted to be sure. Great jig! |
Page 1 of 1 | All times are UTC - 5 hours |
Powered by phpBB® Forum Software © phpBB Group http://www.phpbb.com/ |